If you have ever decided to start a home renovation project, you know that they are NEVER as simple as they first seem! They always take more time than originally expected, cost more than desired, and need more work than you thought! Even though they can be annoying, most of us still have to do some home repairs occasionally. Thankfully, people like Ken can show us the way.

Check out this easy guide on fixing wall cracks!

Unless you live in new construction or a perfect home, you have encountered cracks in your wall and ceiling. For the most part, these cracks are harmless and are just the result of your house settling over time. Even though they are harmless, they don’t look great! They can mar a perfectly good wall with an ugly scar.
Using these steps, you can easily take care of the cracks caused by your house settling in only a few minutes!
If you are ready to get a smooth finished wall without annoying cracks, it’s super easy! Just follow along and do the steps with Ken. The great part is that this DIY project only takes minutes and is super easy.
1. Prepare the area

Most cracks occur around thresholds and doors. Since we will be painting, it’s better to be safe than sorry! Just grab some painters tape and make sure you cover the exposed areas around the door that you don’t want to be painted.
2. Open up the working surface

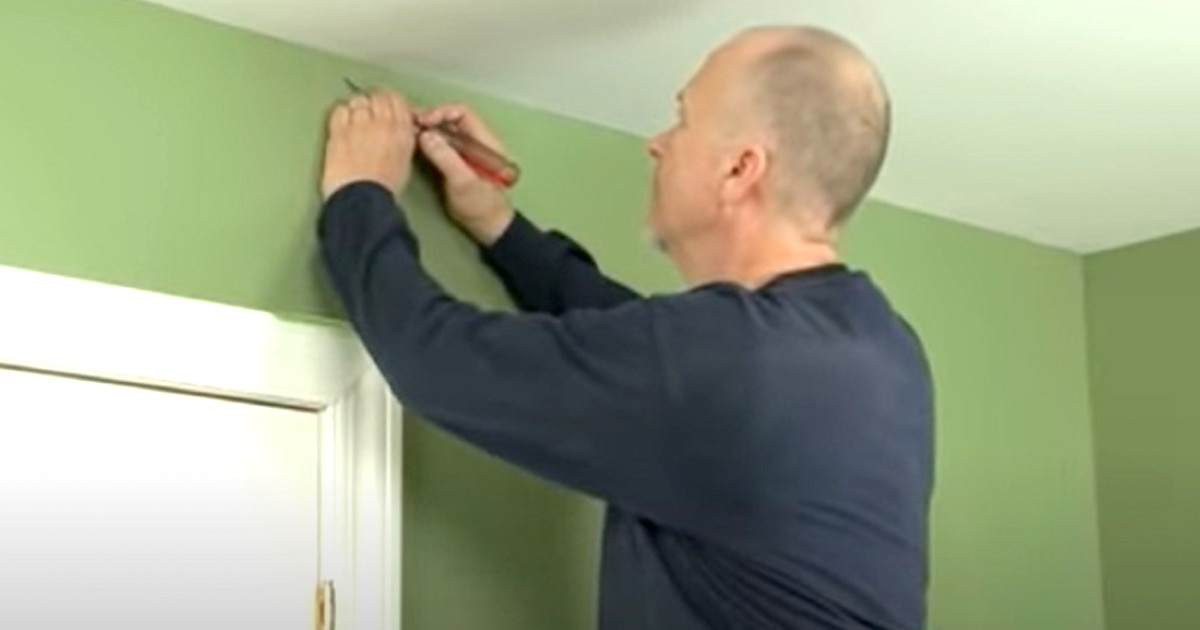
This might be the most fun part! In order to have better access to the crack, we are going to open it up a bit. The best way to do this is to grab an old screwdriver and just pull the tip through the drywall, scoring and widening the crack. After you widen it, just use a damp cloth to clean it.

3. Apply fiberglass tape

We want to make sure the issue doesn’t come back! Using self-adhesive fiberglass tape, simply put a strip that covers the area well. This is going to make sure it stays reinforced and doesn’t become a repeat problem.
4. Apply drywall joint compound

This sounds fancy, but it really isn’t. Just spread out some compound onto the area to fill in the spaces. Using some pressure and a paint knife, press the compound into the area. After it has time to dry, scrape off any bumps with a pass or two of the knife. When the first coat is smooth, add a second coat in the same way. After the second coat is dry, add a third and final coat while ensuring no lumps or bumps.
5. Scrape and sand

We are almost done! Using the painting knife, make sure there are no rough spots in the compound with a pass or two. After that, take your sander of choice (a wood block with 100 grit sand or Ken’s preferred choice of a specialized drywall tool works). Go over the area and make sure it’s super smooth. Do your best to get into the crevice of the ceiling! Dust off the area, and lets prime!
6. Prime and paint

