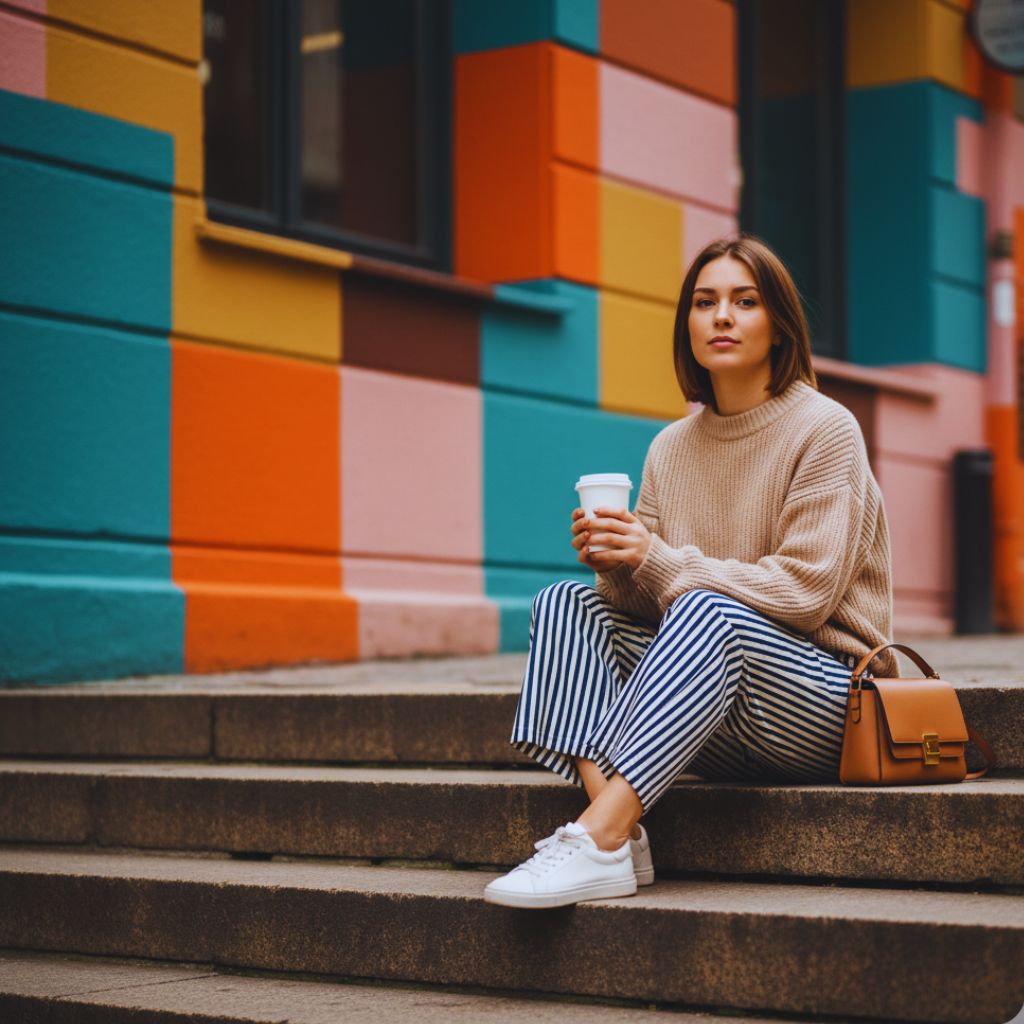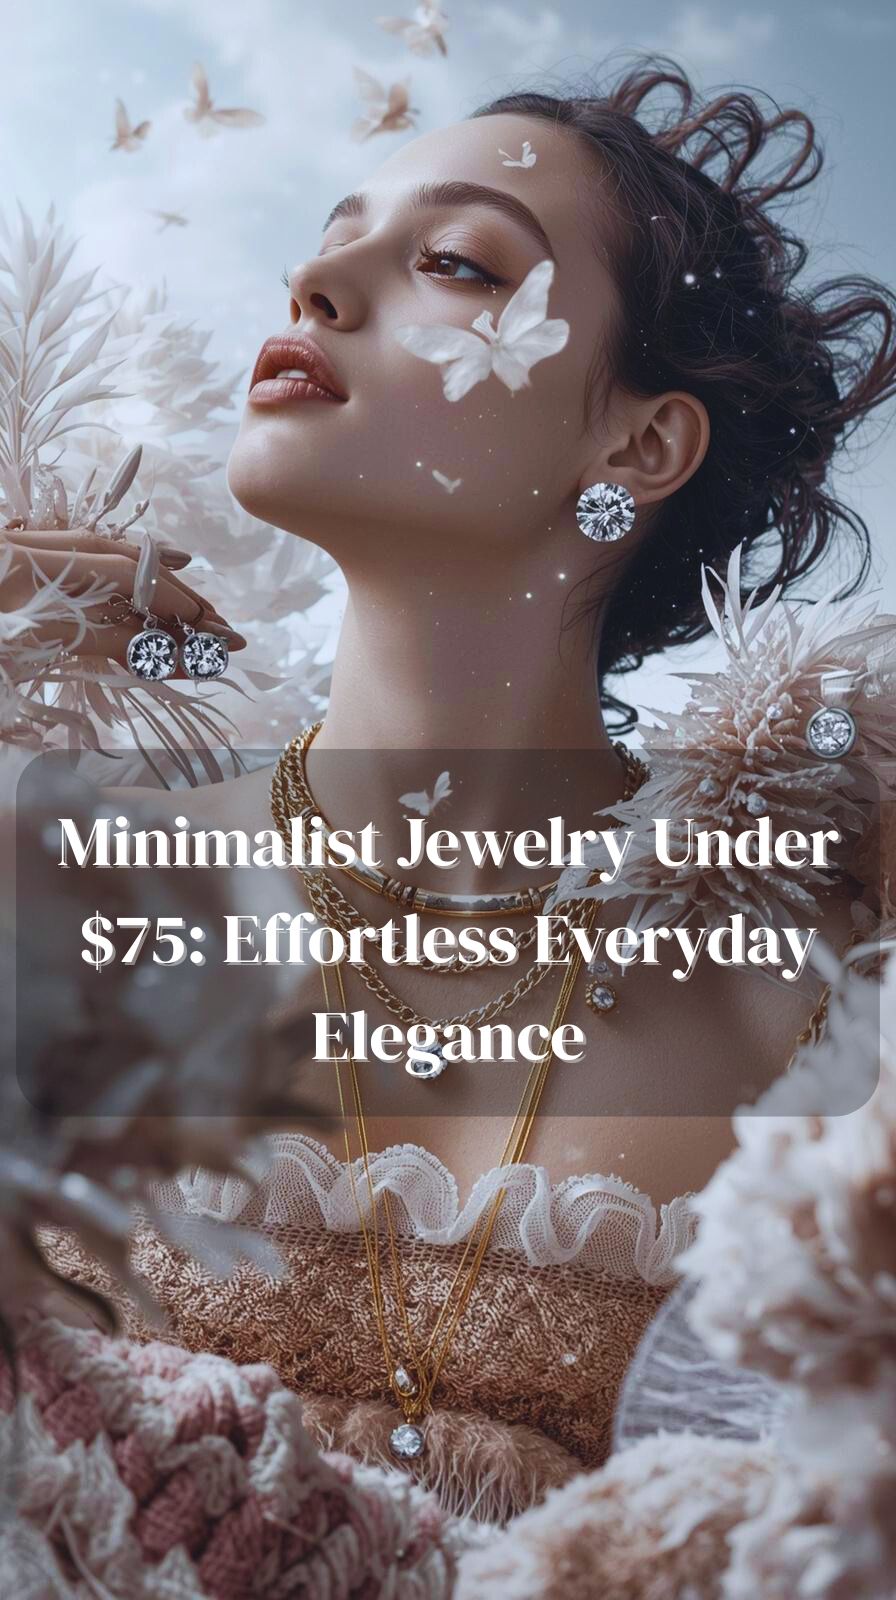
In a world where fashion trends change faster than ever, one thing remains timeless — minimalist jewelry.
It’s subtle yet striking. Effortless yet elegant. Perfectly designed to whisper sophistication rather than shout for attention.
And here’s the best part — you don’t need to spend hundreds to sparkle with style. With the right pieces, you can elevate your everyday look and exude confidence, all for under $75.
In this guide, we’re diving into the art of minimalist accessorizing — exploring five must-have jewelry pieces that blend affordability, versatility, and undeniable charm.
Why Minimalist Jewelry Is Always in Style
The appeal of minimalist jewelry goes far beyond trends. It’s not about over-the-top glam — it’s about subtle beauty, balance, and timeless design.
Here’s why minimalist jewelry continues to rule jewelry boxes worldwide:
1. Less Is More
Minimalist pieces prove that simplicity can be powerful. A delicate gold chain or thin bangle can say more than chunky statement jewelry ever could.
2. Effortless Versatility
Whether you’re dressing for work, brunch, or a night out, minimalist designs fit any outfit. You can wear the same pair of small gold hoops with jeans or a little black dress — they’ll always work.
3. Elegant Expression
Minimalist jewelry allows your natural style to shine. Instead of overshadowing your outfit, it enhances your look with a refined, intentional touch.
4. Perfect for Layering
Because minimalist pieces are subtle, you can layer necklaces, stack rings, or mix metals without looking overdone.
5. Budget-Friendly Luxury
Simple designs often mean affordable elegance. You can find high-quality minimalist jewelry under $75 that looks as luxurious as designer brands.
The Minimalist Jewelry Mindset
Before we explore the five essential pieces, it’s important to understand the minimalist approach to accessorizing.
Minimalist jewelry isn’t about owning less; it’s about owning better. Each piece should:
- Have meaning or purpose
- Be versatile enough for daily wear
- Mix easily with other accessories
- Complement, not compete, with your outfit
Think of it as curating your personal jewelry capsule collection — timeless, functional, and uniquely you.
5 Minimalist Jewelry Pieces Under $75 to Elevate Your Everyday Look
These five essentials are all you need to create a signature jewelry style that feels effortless yet elegant. They’re simple, stunning, and — best of all — affordable.
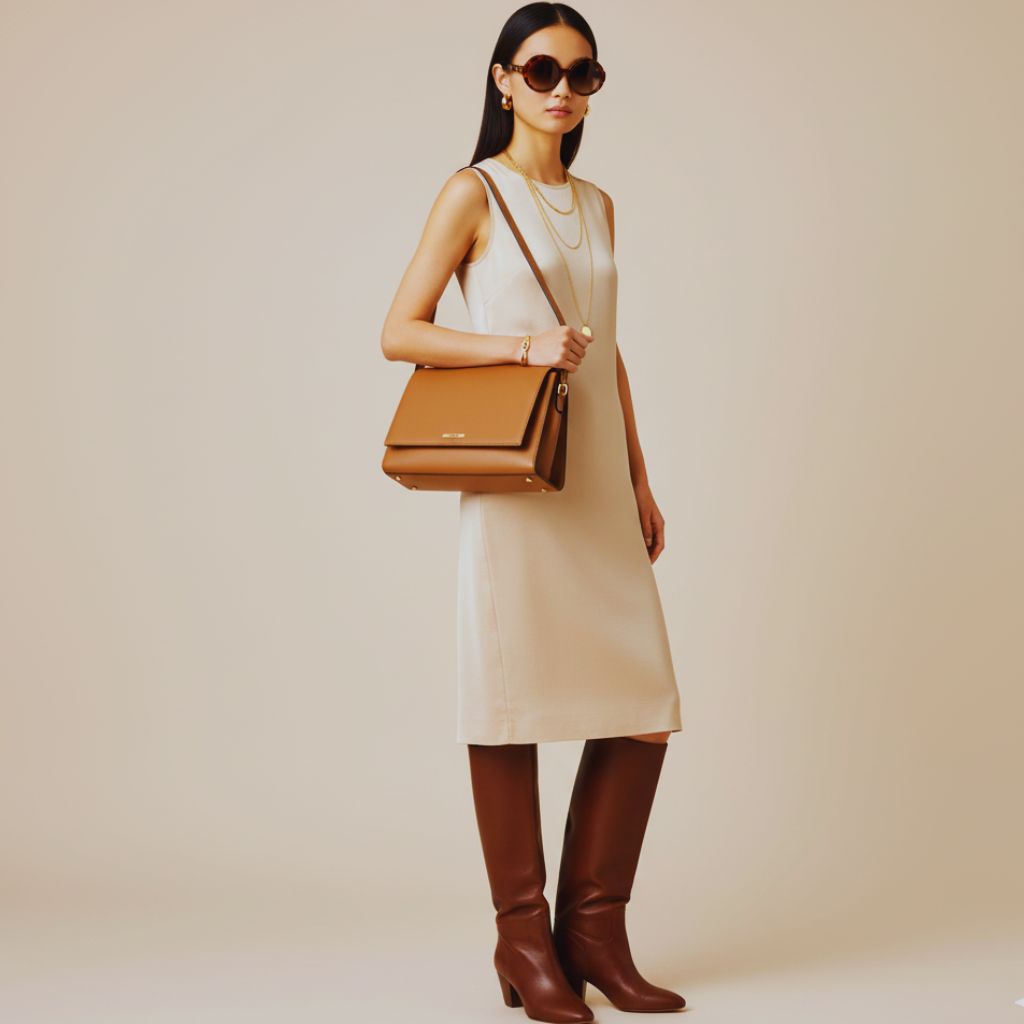
1. The Delicate Gold Necklace — Your Everyday Signature
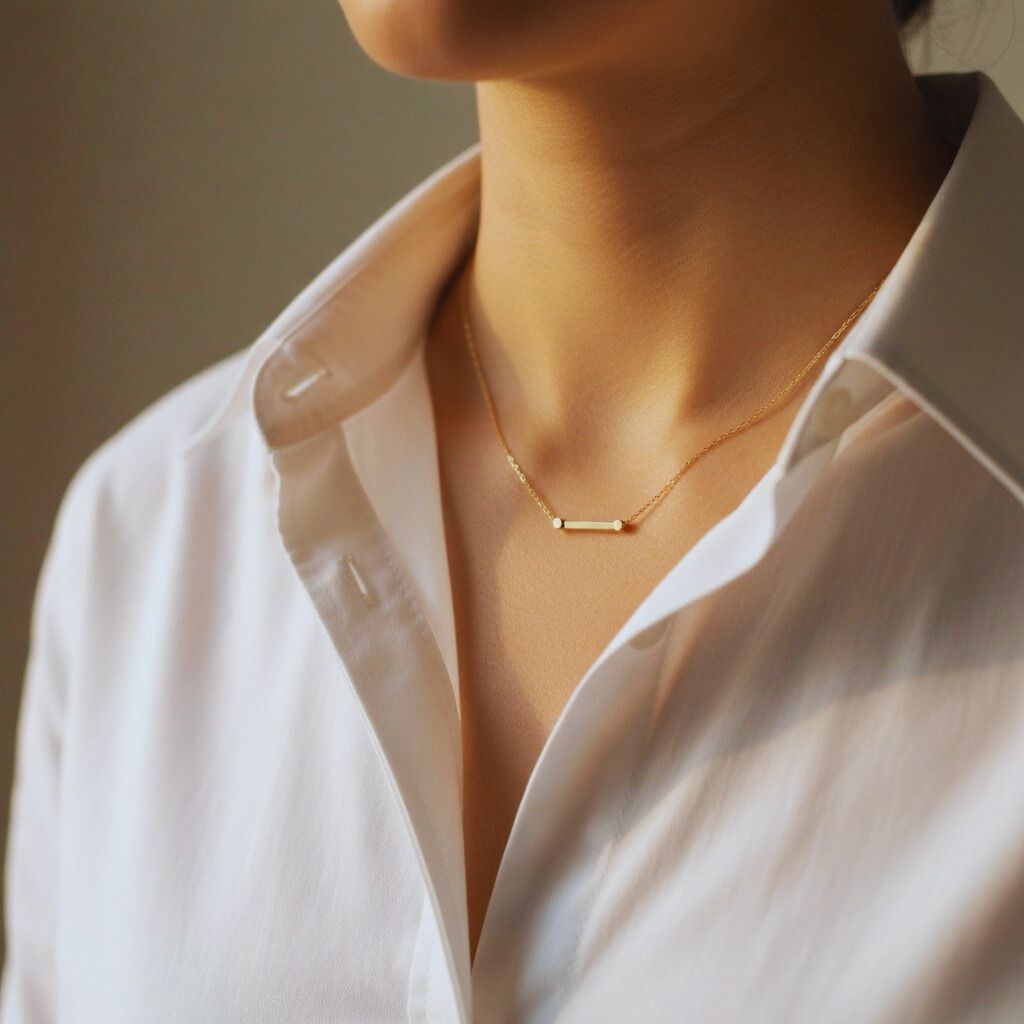
If you buy just one minimalist jewelry piece, make it a simple gold chain necklace. It’s the foundation of effortless elegance.
Whether you prefer a fine chain, a dainty pendant, or a minimalist bar, a gold necklace adds an understated glow to your neckline. It complements every skin tone, outfit, and occasion.
Why it stands out:
- Timeless and easy to layer
- Works with both casual and formal looks
- Enhances your collarbones and adds subtle shine
Style Tip:
Layer it with a shorter choker or longer pendant for dimension. A plain white shirt with a thin gold chain? Instant chic.
2. The Sleek Gold Hoops — Minimal but Magnetic

Hoops never go out of style — especially small gold hoops with clean lines and polished edges. They’re bold enough to make a statement, yet subtle enough for daily wear.
Perfect for when you want something that says, “I’m put together,” without trying too hard.
Why they stand out:
- Universally flattering for all face shapes
- Add structure and elegance to casual outfits
- Easy to transition from day to night
Style Tip:
Choose a huggie hoop for minimal drama or a medium-sized hoop for a touch of vintage flair. Pair them with a ponytail or bun to highlight your jawline.
3. The Stackable Rings — Subtle Sparkle, Maximum Impact

Stackable rings are the heart of minimalist jewelry styling. They let you mix textures, metals, and shapes for a look that’s delicate yet expressive.
Whether you wear one thin gold band or stack several across your fingers, they create a refined, modern statement.
Why they stand out:
- Customizable to your mood or outfit
- Look elegant solo or stacked
- Great for creating a personalized jewelry story
Style Tip:
Mix rose gold, silver, and yellow gold tones for a balanced, layered look. Or keep it cohesive with sleek, uniform bands for clean minimalism.
4. The Simple Bracelet — Effortless Wrist Elegance
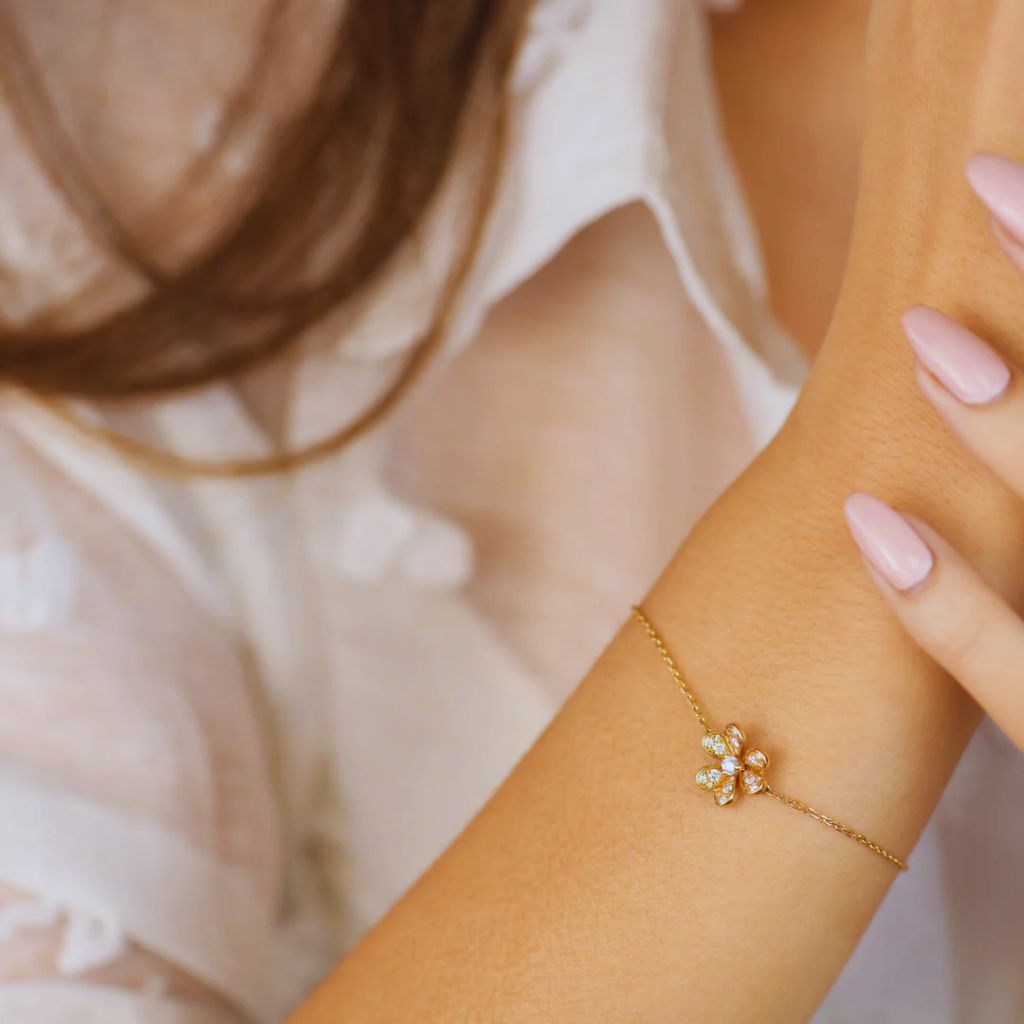
A minimalist bracelet adds subtle sophistication without overpowering your outfit. A slim gold or silver chain bracelet is timeless, easy to wear, and incredibly chic.
For those who love delicate details, even a small charm or bar accent adds personality without compromising simplicity.
Why it stands out:
- Adds polish to your everyday look
- Layers beautifully with watches or bangles
- Light and comfortable for all-day wear
Style Tip:
Stack two or three minimalist bracelets in mixed metals for a soft shimmer that catches the light just right.
5. The Modern Stud Earrings — Small Yet Sophisticated
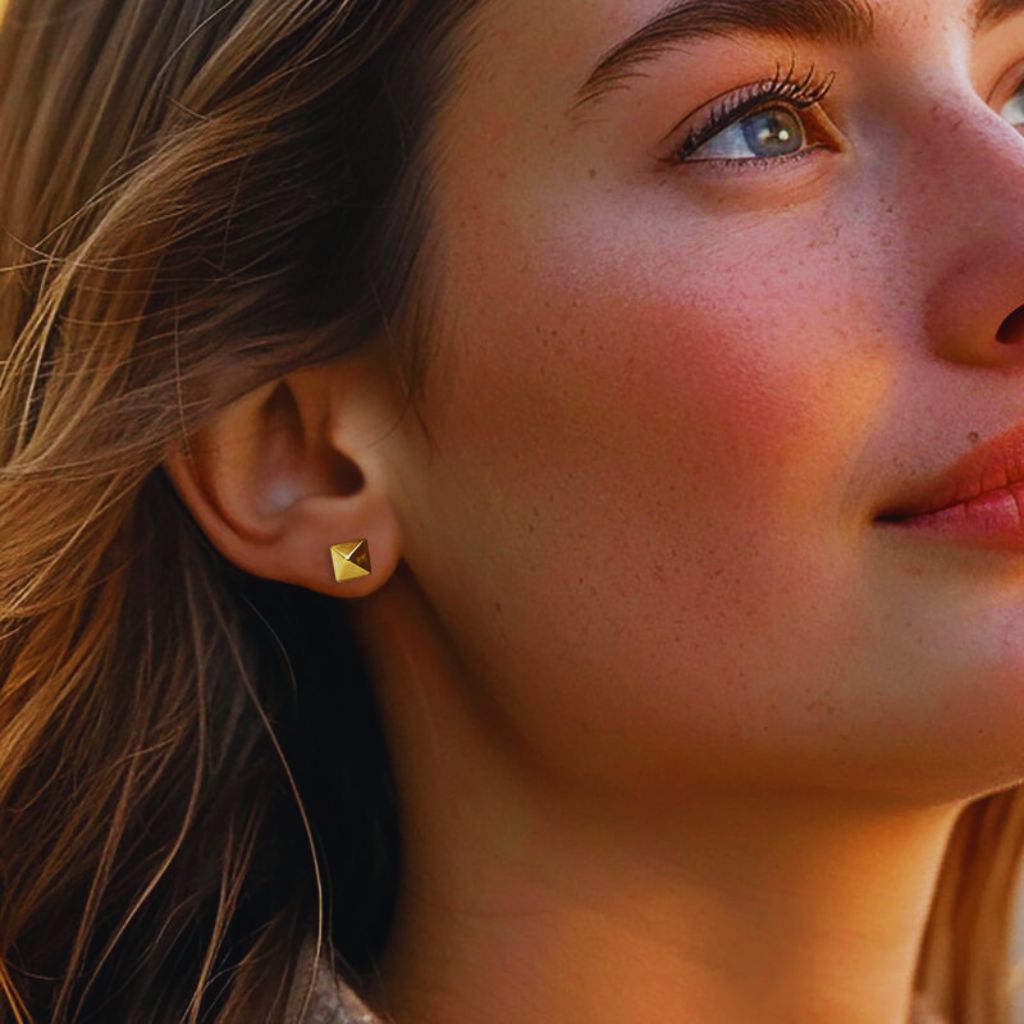
When in doubt, studs are your minimalist go-to. A pair of tiny gold or silver studs offers effortless polish — the kind of accessory that works for every occasion.
From geometric designs to tiny pearls or minimal gemstone dots, they’re the perfect combination of subtle and stylish.
Why they stand out:
- Suitable for both professional and casual wear
- Perfect for second piercings or minimalist layering
- Enhance natural beauty without distraction
Style Tip:
Try geometric shapes (triangle, bar, or dot) for a contemporary edge. Keep one ear simple and stack the other for an asymmetrical, fashion-forward vibe.
How to Style Minimalist Jewelry Like a Pro
Minimalist doesn’t mean boring — it means intentional. Here’s how to make your pieces shine:
1. Master the Art of Layering
Layer necklaces or stack rings with different textures and lengths for depth. Keep the tones cohesive — all gold or all silver — for a harmonious effect.
2. Let Your Jewelry Match Your Mood
Feeling soft and romantic? Go for dainty chains. Want a bolder edge? Add medium hoops or layered rings.
3. Keep It Balanced
If you’re wearing statement earrings, skip the necklace. If your neck is layered, opt for minimal earrings. Balance creates visual harmony.
4. Mix Metals Mindfully
Gone are the days of “no mixing.” Silver and gold together create a modern, elevated look when done subtly.
5. Invest in Quality Basics
Even under $75, look for hypoallergenic, tarnish-resistant, or gold-plated materials for long-lasting wear.
Why Minimalist Jewelry Makes the Perfect Investment
Minimalist jewelry is more than an accessory — it’s a lifestyle statement. It reflects confidence, self-awareness, and effortless elegance.
Here’s why it’s worth investing in:
- Timeless appeal: Minimal designs never go out of style.
- Everyday wear: Lightweight, comfortable, and versatile.
- Budget-friendly elegance: Luxury look without the luxury price.
- Personal expression: You choose pieces that align with your personality.
In short, minimalist jewelry adds subtle brilliance to your everyday story — one piece at a time.
Final Thoughts: Simplicity Is the Ultimate Statement
In a world full of noise and over-accessorizing, minimalist jewelry offers a breath of fresh air.
It’s proof that beauty doesn’t need to be loud — it just needs to be intentional.
From a delicate gold necklace to sleek hoop earrings, these five pieces under $75 are all you need to elevate your everyday look and embody effortless sophistication.
So next time you get dressed, remember: sometimes, the smallest sparkle makes the biggest impact.
Because true style doesn’t shout. It shines quietly.