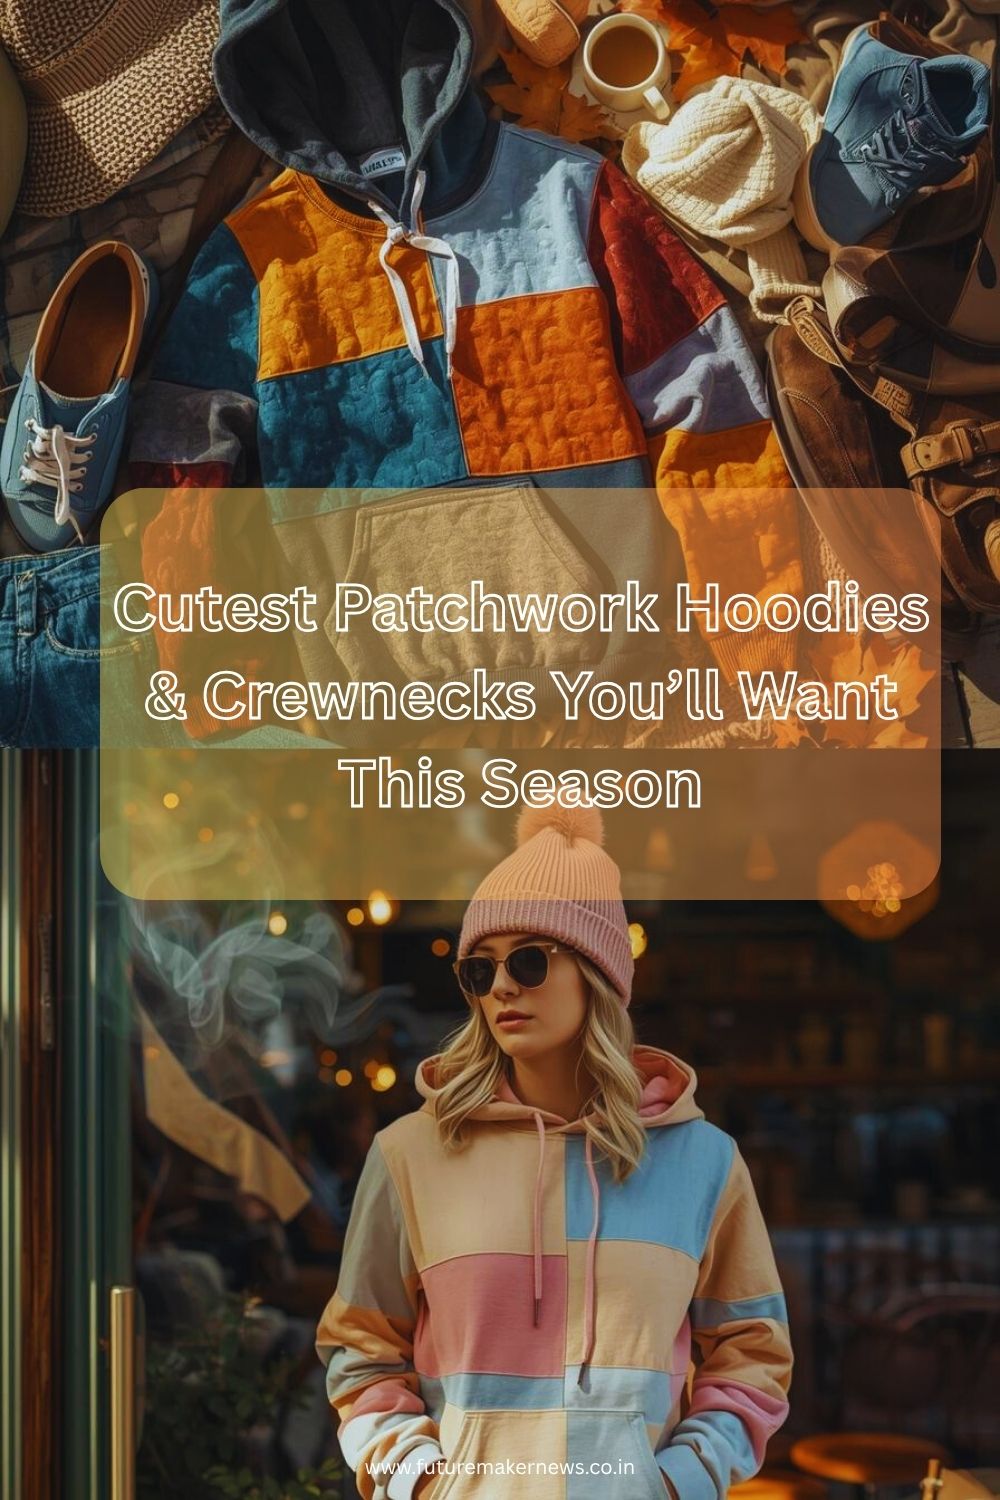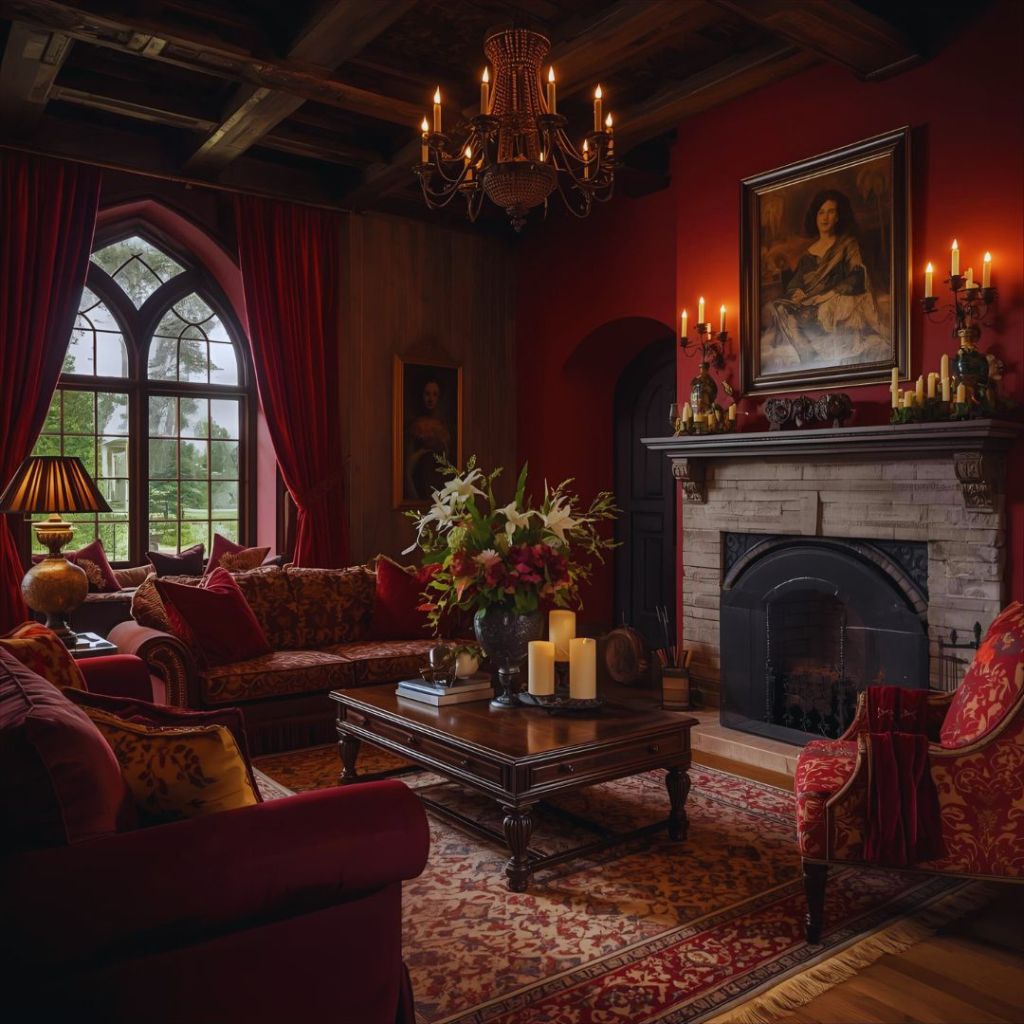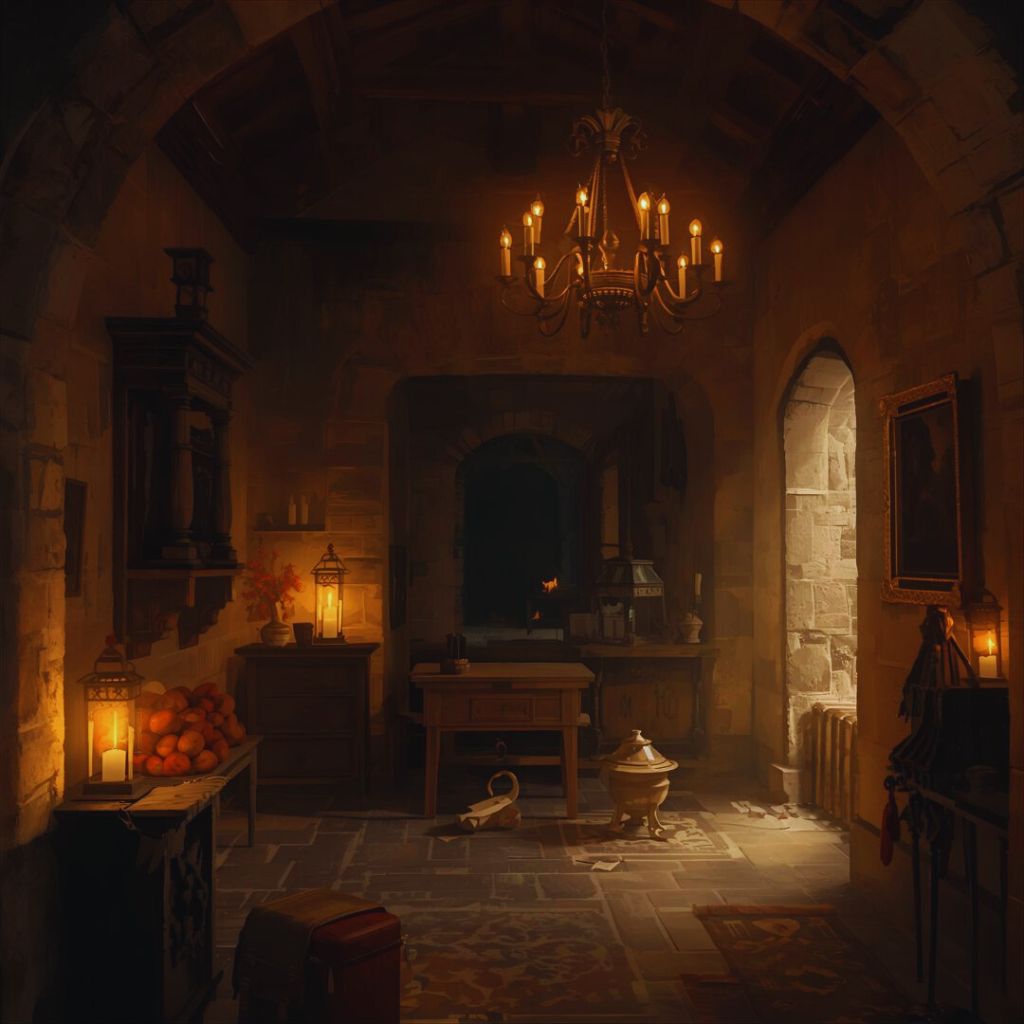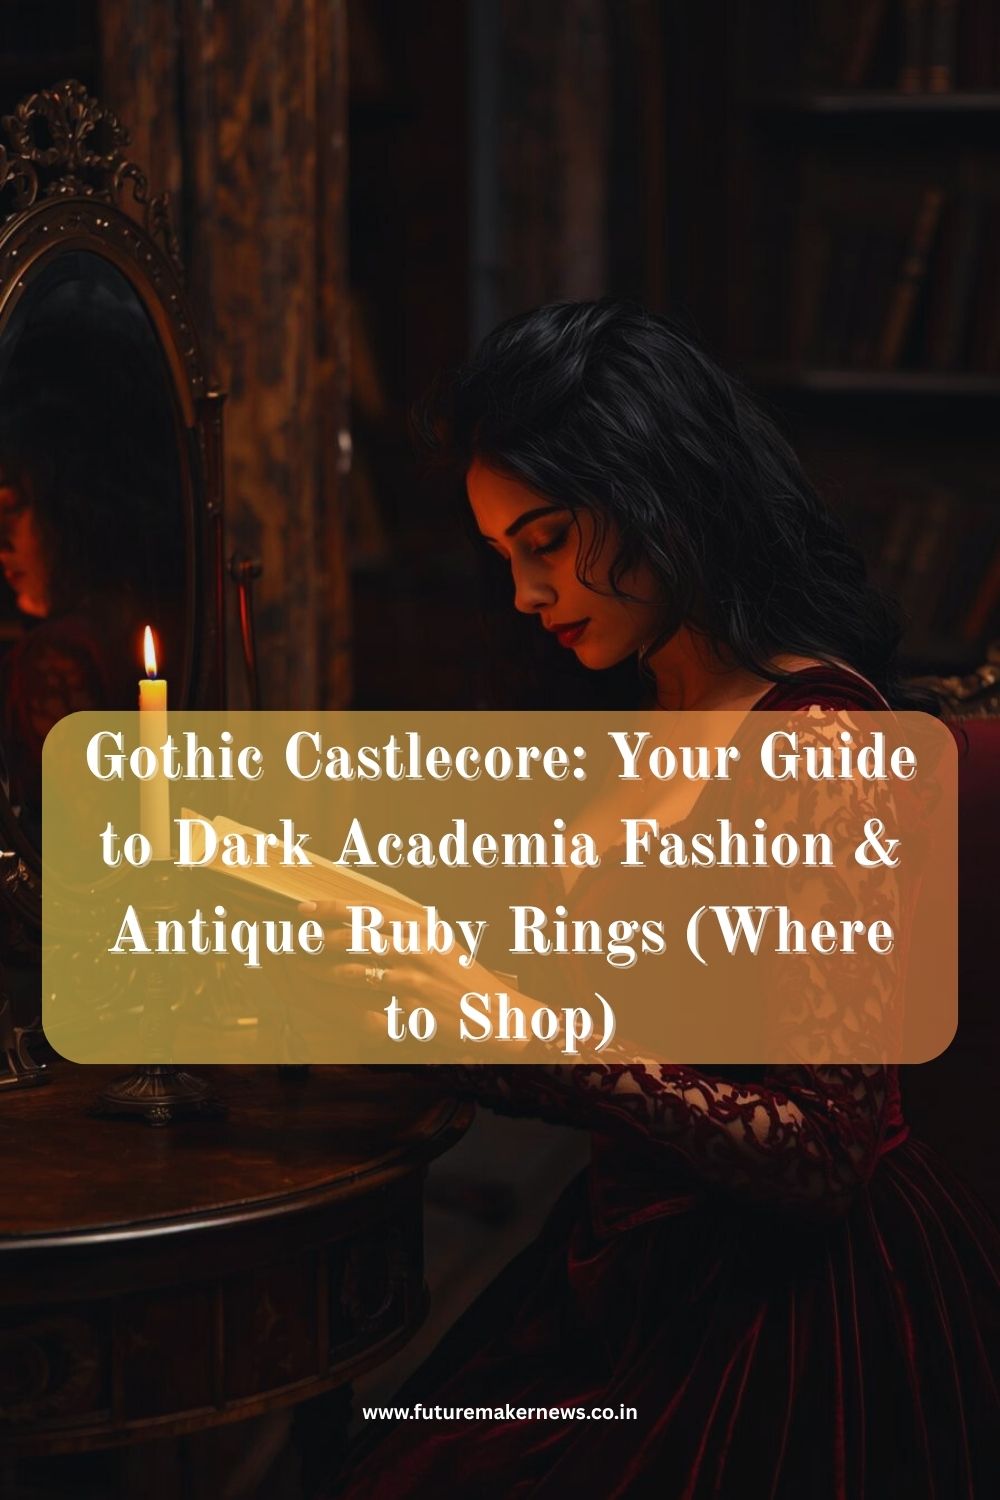
If Dark Academia met Victorian romance in a candlelit castle, the result would be Gothic Castlecore — the ultimate aesthetic for those who crave mystery, opulence, and timeless beauty.
This aesthetic is taking over Pinterest, TikTok, and Instagram because it blends everything we love — the romance of literature, the mystery of medieval halls, and the luxury of antique jewelry. Think lace, velvet, chandeliers, ruby rings, and secret libraries bathed in golden light.
In this guide, we’ll explore how to master Gothic Castlecore fashion, the must-have pieces to build the look, and how to style antique ruby rings to perfection — all while keeping things wearable, elegant, and irresistibly dramatic.
What Is Gothic Castlecore?
Gothic Castlecore is an evolution of Cottagecore and Dark Academia, combining the cozy romanticism of countryside living with the grandeur of medieval architecture and gothic elegance.
It’s about channeling old-world charm — vintage silhouettes, ornate details, and luxurious textures that look like they belong in a candlelit castle or a Shakespearean love story.
Core Aesthetic Elements:
- Rich fabrics like velvet, lace, and brocade
- Deep, moody colors — black, burgundy, emerald, antique gold
- Romantic silhouettes — corsets, puffed sleeves, long skirts
- Antique jewelry — ruby rings, lockets, and filigree designs
- Atmosphere — candlelight, poetry, and gothic architecture
It’s less about dressing up and more about curating a mood — one that feels timeless, mysterious, and quietly powerful.
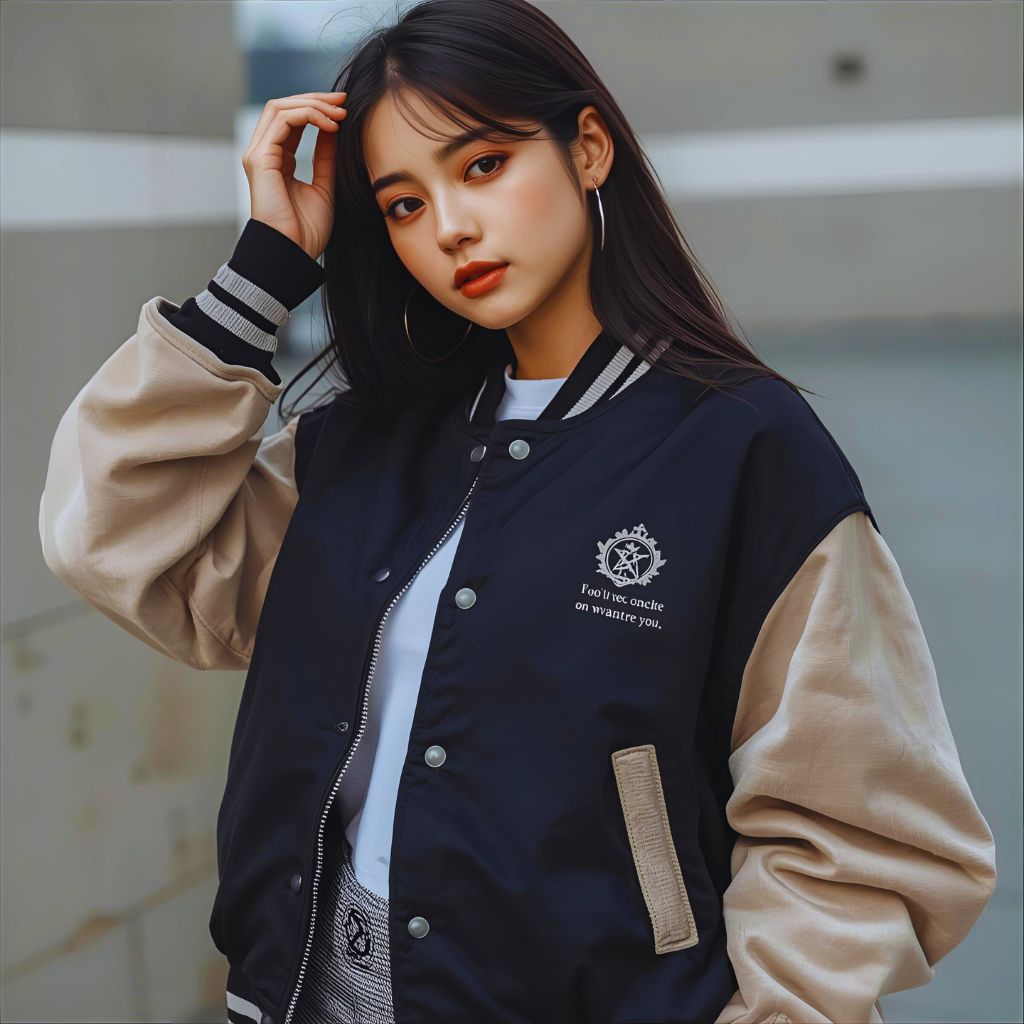
1. The Foundation: Dark Academia Meets Gothic Romance
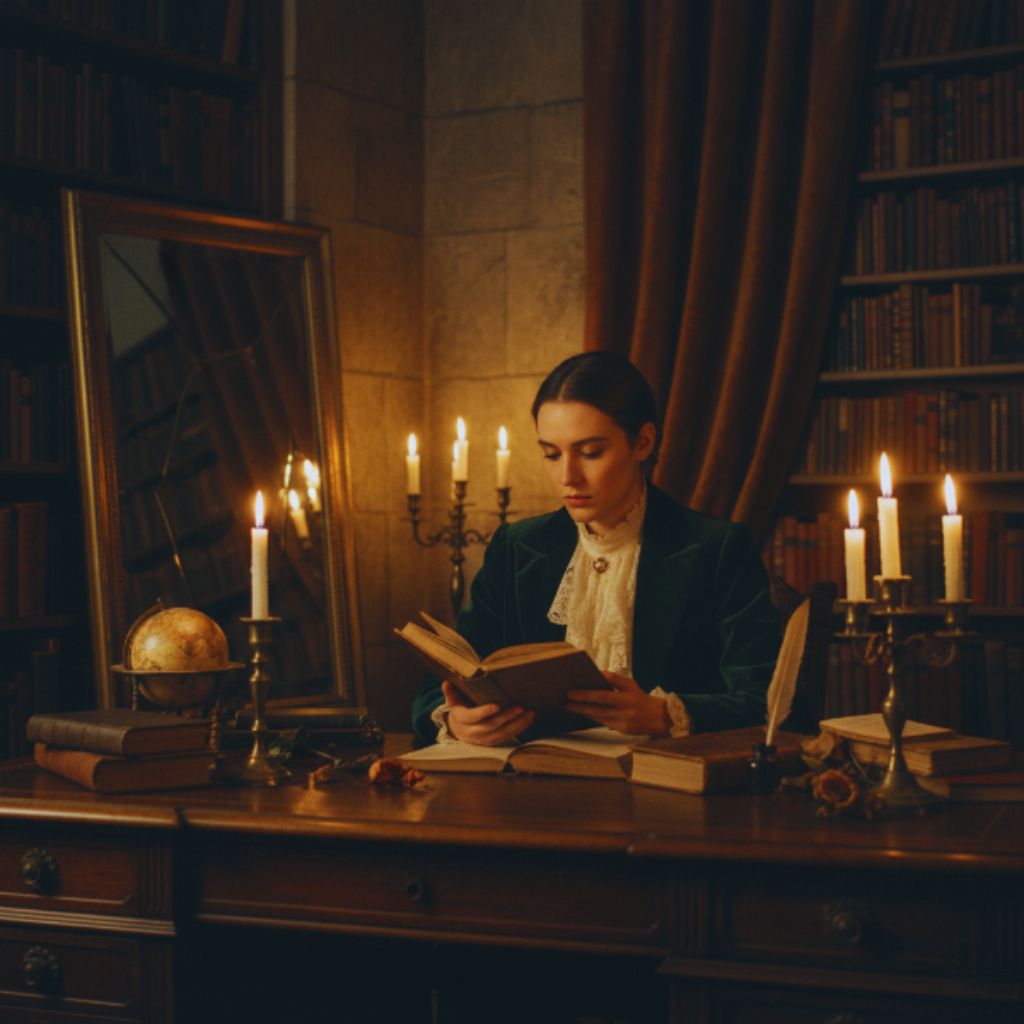
At its heart, Gothic Castlecore is built on the bones of Dark Academia fashion — intellectual, vintage, and layered with meaning.
What Makes It Different?
While Dark Academia focuses on scholarly style — blazers, trousers, turtlenecks — Castlecore adds royalty and romance. It’s more theatrical, more luxurious, and deeply expressive.
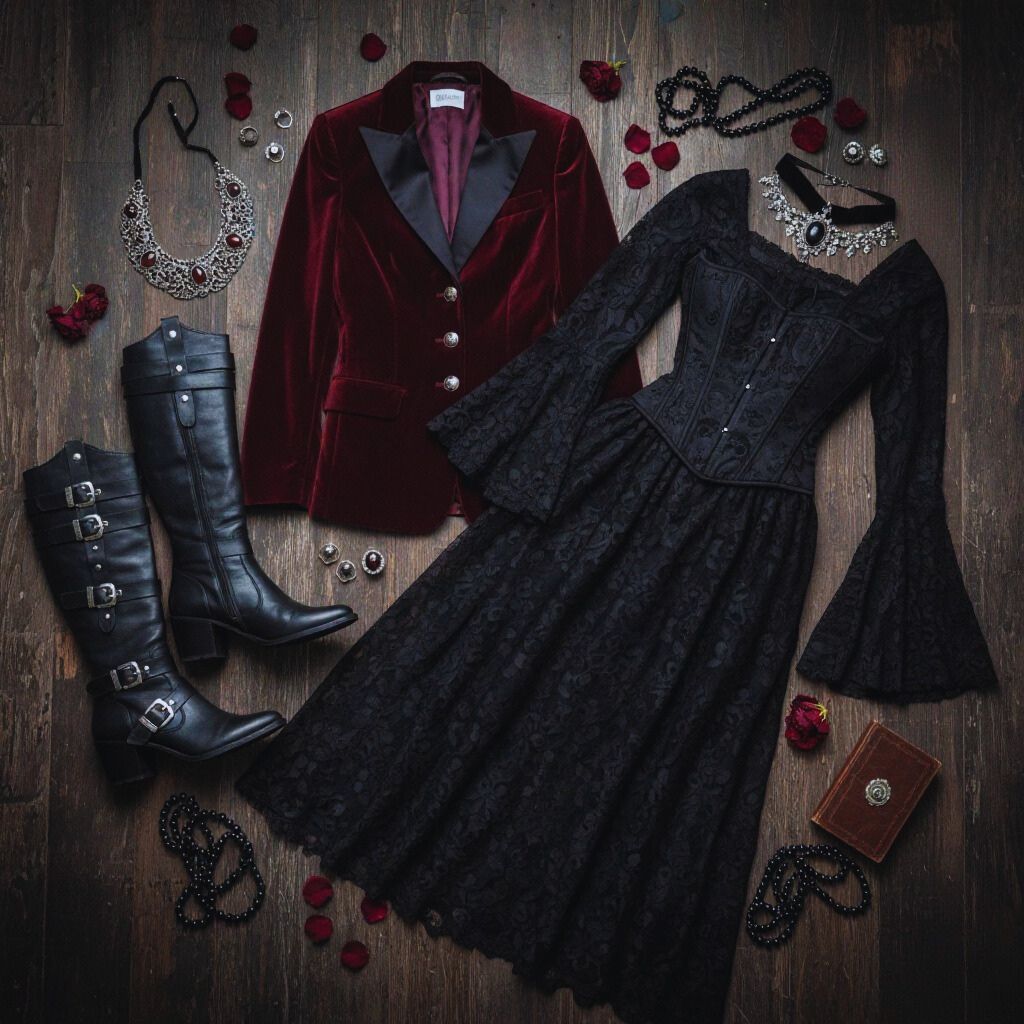
Style Staples to Build Your Look
- Lace blouses with ruffled collars
- Tailored velvet blazers in dark hues
- Long pleated skirts or flowing maxi dresses
- Heeled boots or classic oxfords
- Antique-inspired accessories (rings, chokers, brooches)
2. The Power of Texture: Velvet, Lace & Brocade
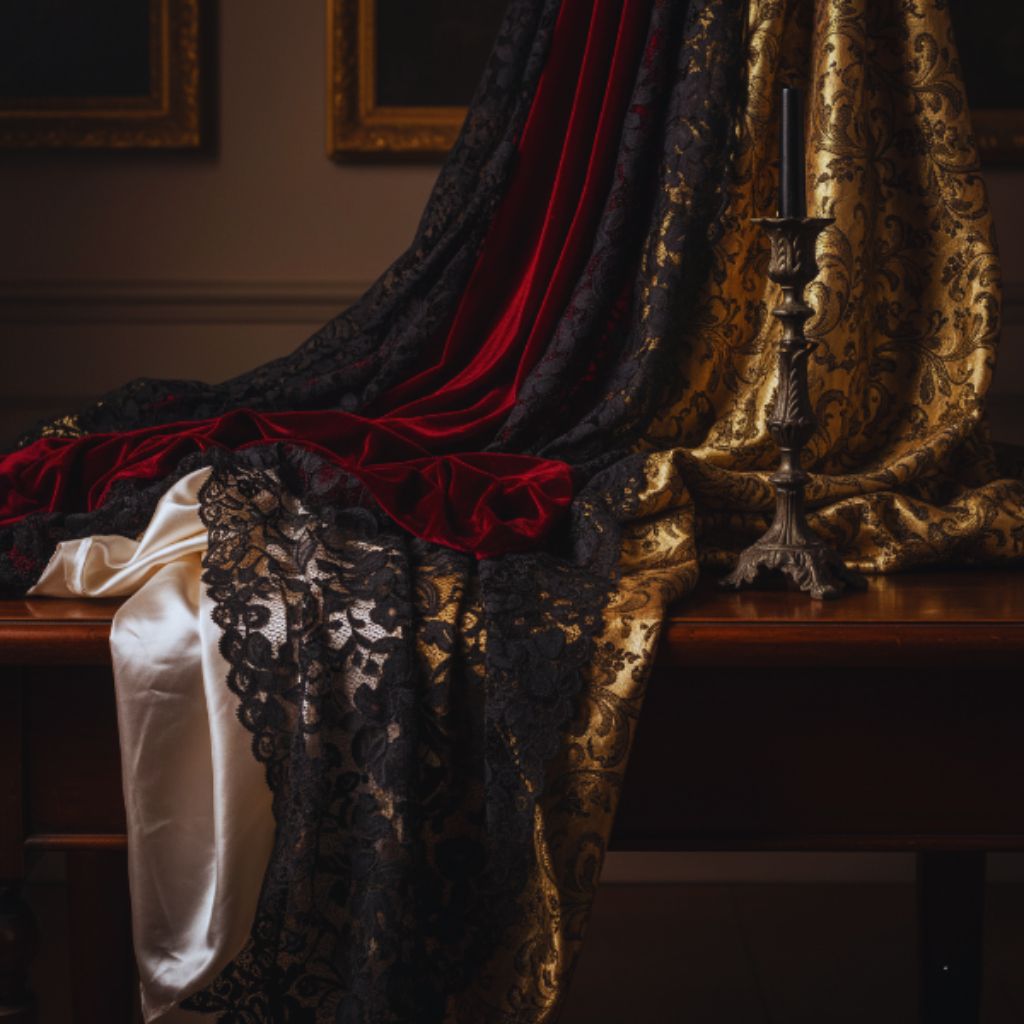
Texture is everything in Gothic Castlecore. It’s what gives the aesthetic its depth, richness, and otherworldly allure.
The Hero Fabrics
- Velvet: Symbol of power and nobility — soft, dramatic, and perfect for winter.
- Lace: Adds delicate contrast to darker tones.
- Brocade: Embellished with regal patterns, perfect for eveningwear.
- Satin: Gives subtle shimmer that catches candlelight beautifully.
These materials not only look luxurious but feel immersive — every texture tells a story of heritage and fantasy.
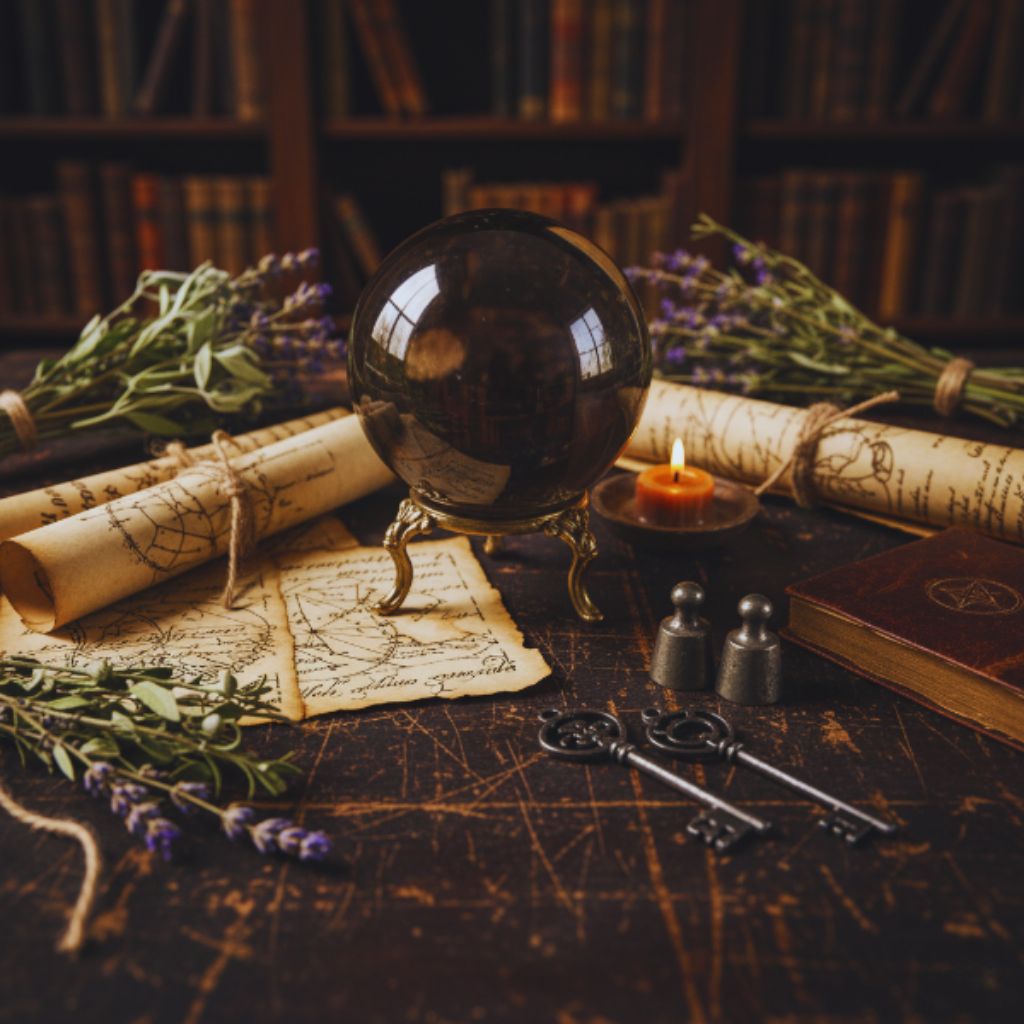
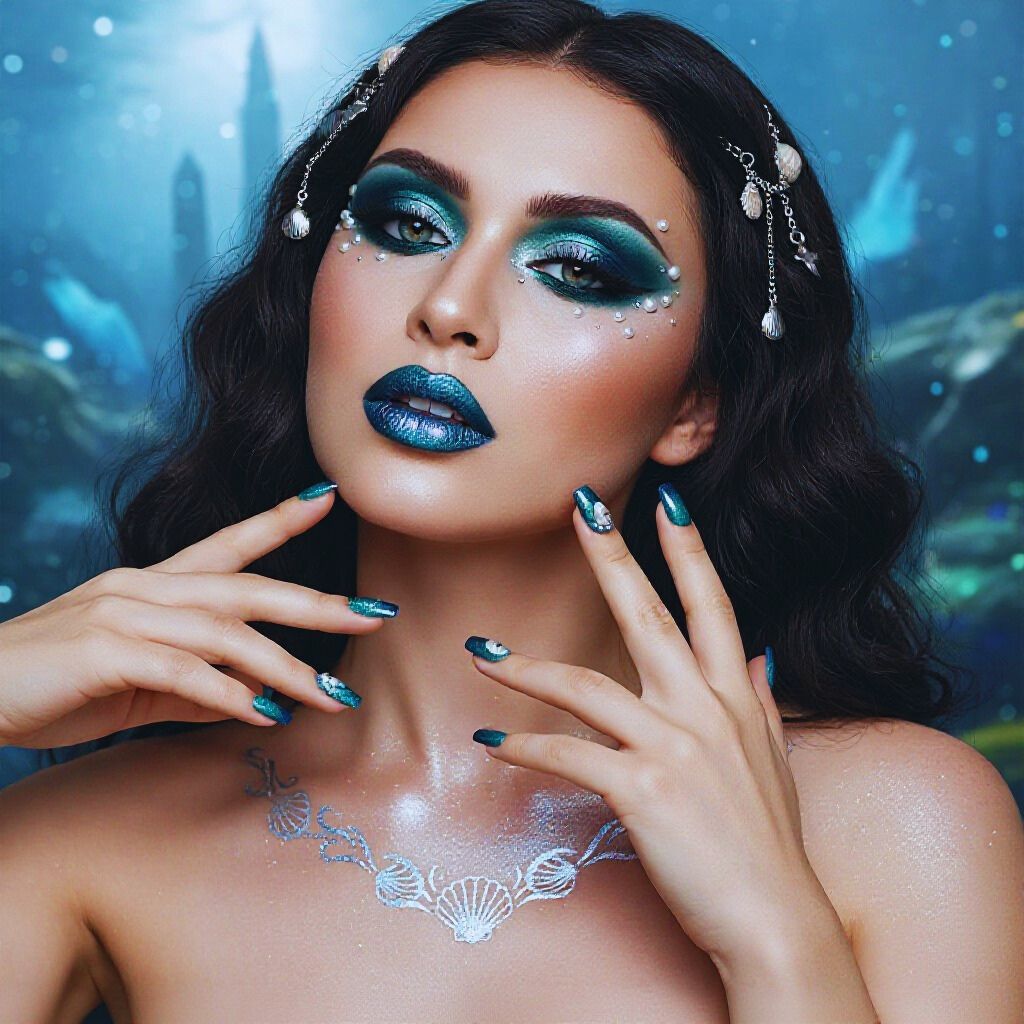
3. Antique Ruby Rings: The Heart of Gothic Elegance

No Gothic Castlecore look is complete without a ruby ring — the ultimate symbol of passion, mystery, and vintage charm.
Why Ruby Rings Are Iconic
Rubies have long been associated with royalty, love, and fire. In gothic aesthetics, they represent inner strength and timeless beauty.
What to Look For in a True Castlecore Ring
- Deep red tones — crimson or garnet-like hues
- Antique settings — filigree metalwork, floral engravings, or Victorian motifs
- Gold or silver bands — aged finishes add authenticity
- Unique imperfections — small flaws tell stories and make the piece one-of-a-kind
Styling Ideas
- Stack your ruby ring with delicate gold bands for a romantic twist.
- Pair it with lace cuffs or velvet gloves for a vintage feel.
- Add a ruby pendant or garnet earrings for coordinated gothic charm.
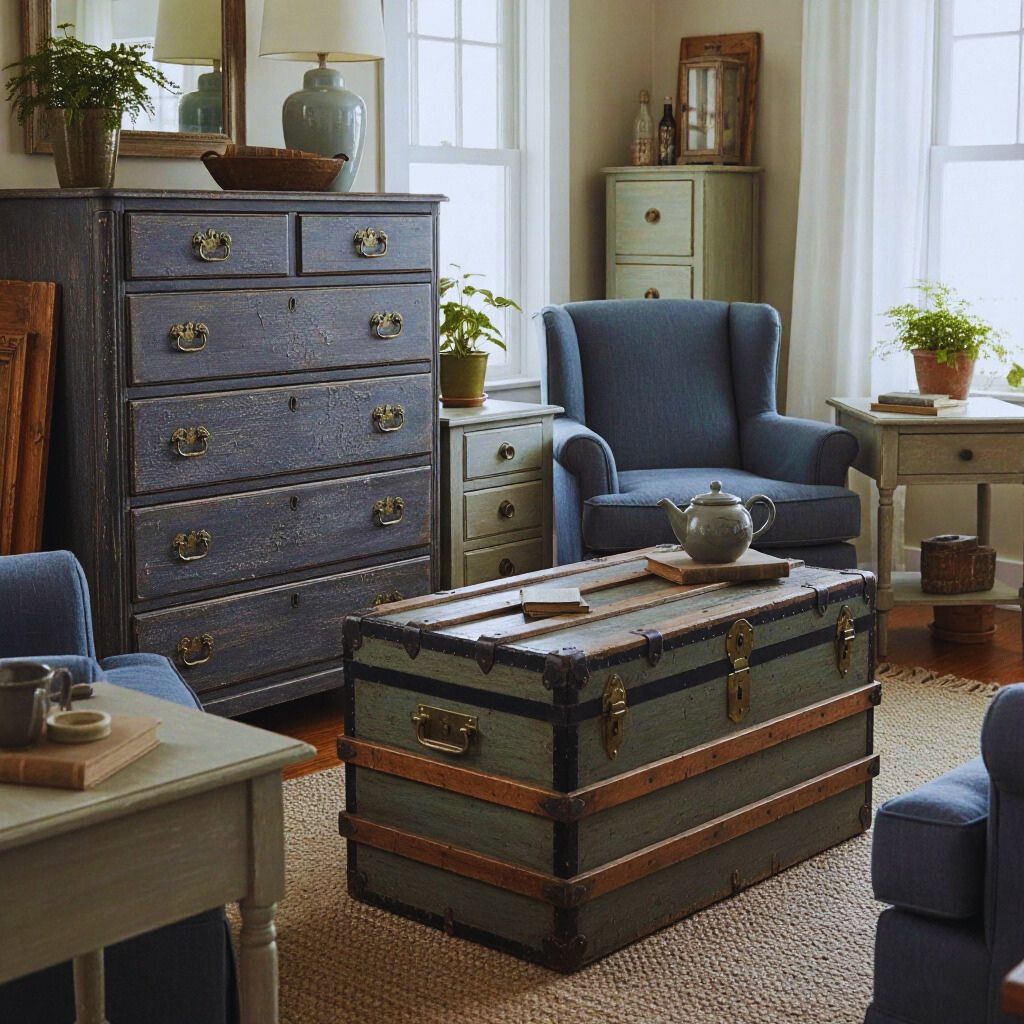
4. Building Your Castlecore Wardrobe
Now, let’s translate the aesthetic into a modern, wearable wardrobe.
The Essentials
- Corset Tops – Structured and feminine, these instantly create the silhouette.
- Lace Dresses – Floor-length or midi with Victorian details.
- Velvet Blazers or Capes – Add richness and drama.
- High Boots or Mary Janes – Gothic yet practical.
- Antique Jewelry – Especially ruby rings, chokers, and lockets.
The Color Palette
| Mood | Shades |
|---|---|
| Regal | Burgundy, Gold, Deep Green |
| Romantic | Plum, Wine, Antique Rose |
| Mysterious | Black, Charcoal, Silver |
5. Where to Find Authentic Gothic Castlecore Pieces
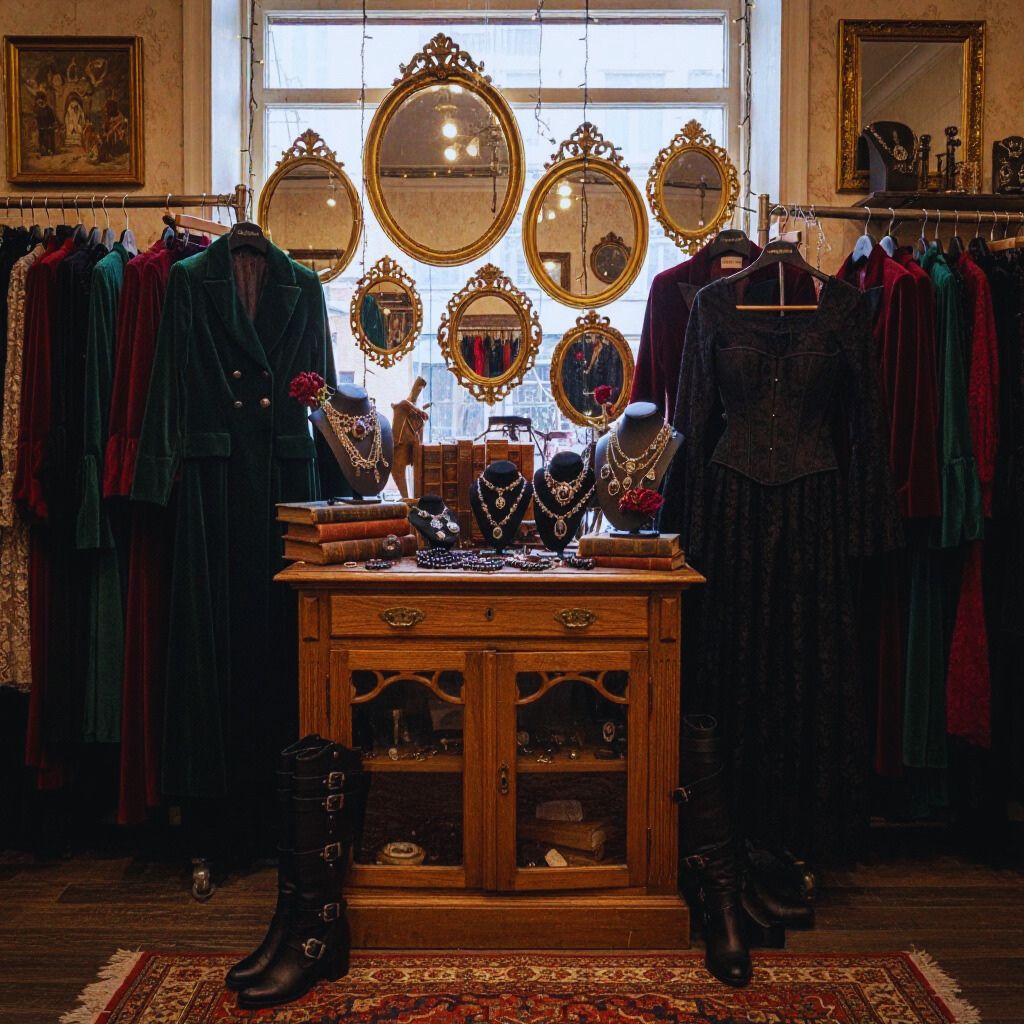
To truly embody the Castlecore aesthetic, shop where the pieces feel alive with history.
Where to Look
- Thrift and vintage stores for real antique fabrics or accessories
- Etsy sellers offering handcrafted gothic jewelry
- Independent boutiques specializing in historical fashion
6. Styling Tips for Modern Castlecore Queens
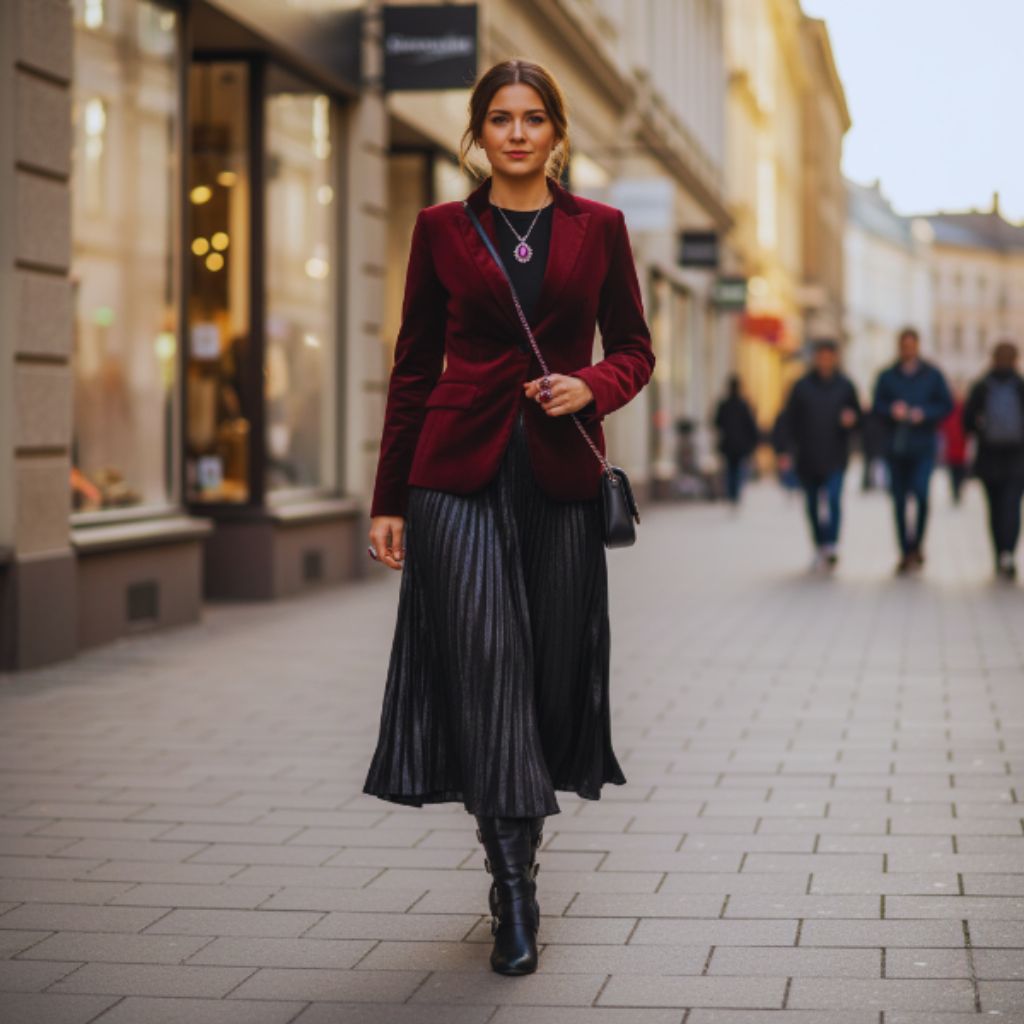
You don’t have to live in a castle (or read Latin poetry) to embrace this aesthetic. Here’s how to bring it into your daily life:
Everyday Styling Ideas
- Swap your plain blazer for a velvet jacket.
- Replace simple studs with vintage earrings.
- Layer ruby jewelry over dark turtlenecks.
- Mix romantic skirts with academic blouses.
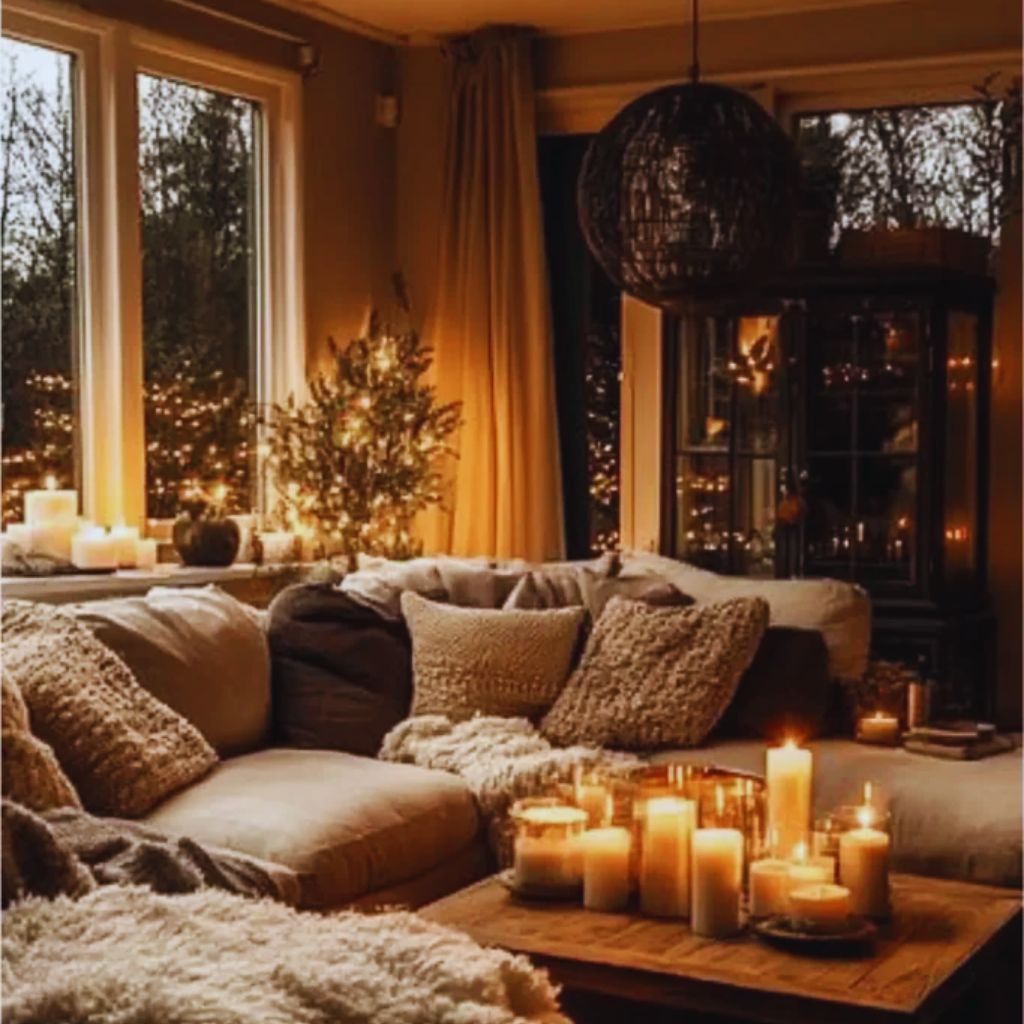
7. Living the Gothic Castlecore Lifestyle
Fashion is only half the charm — Castlecore is also about how you live.
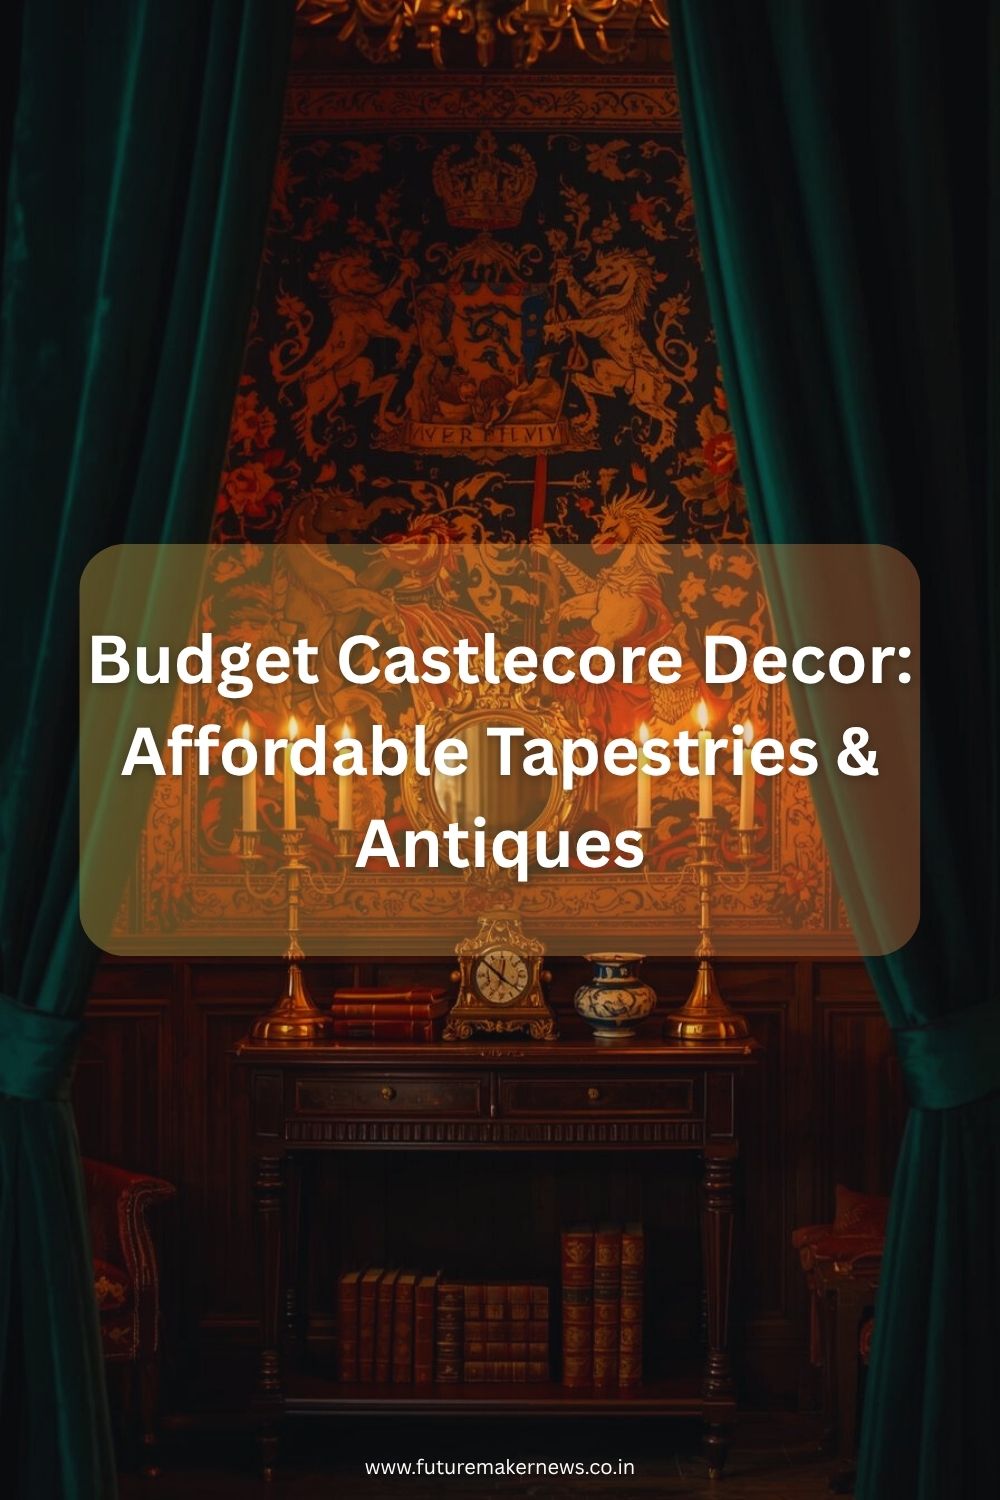
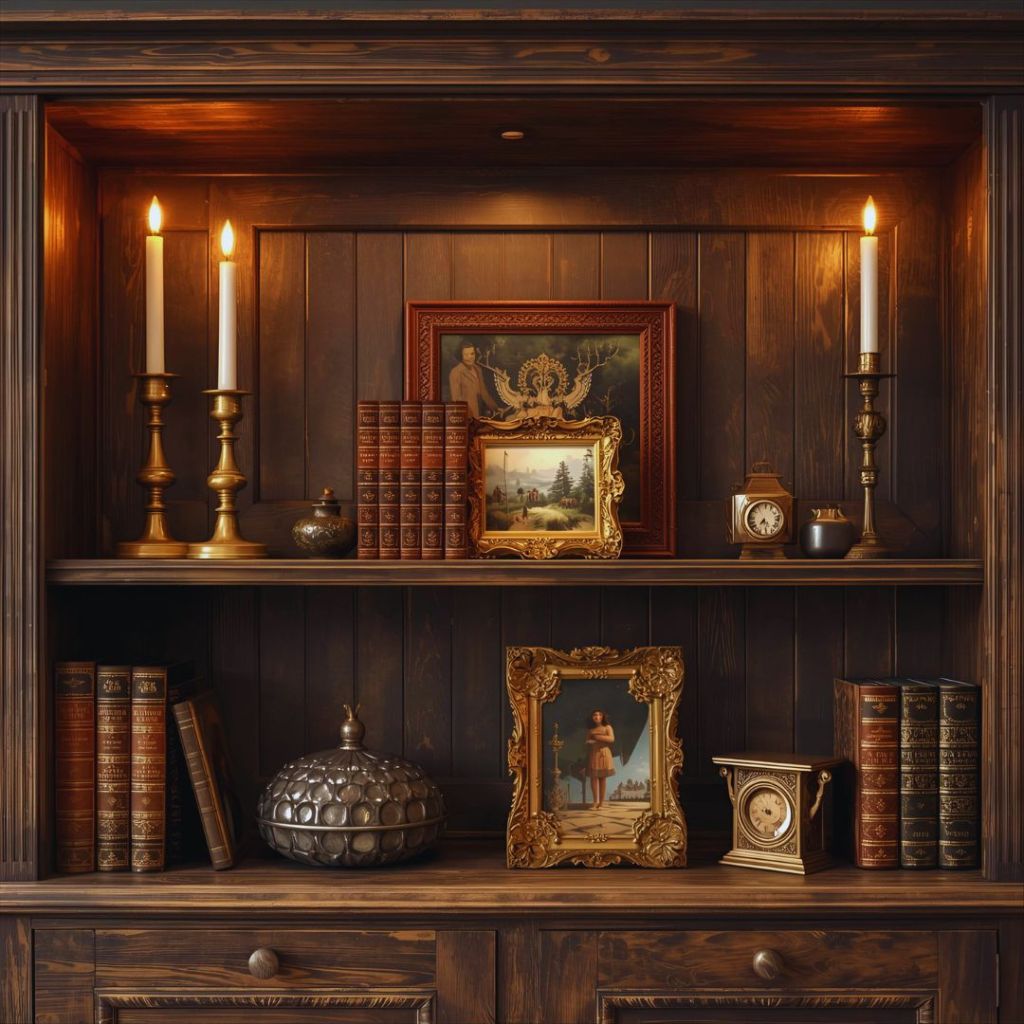
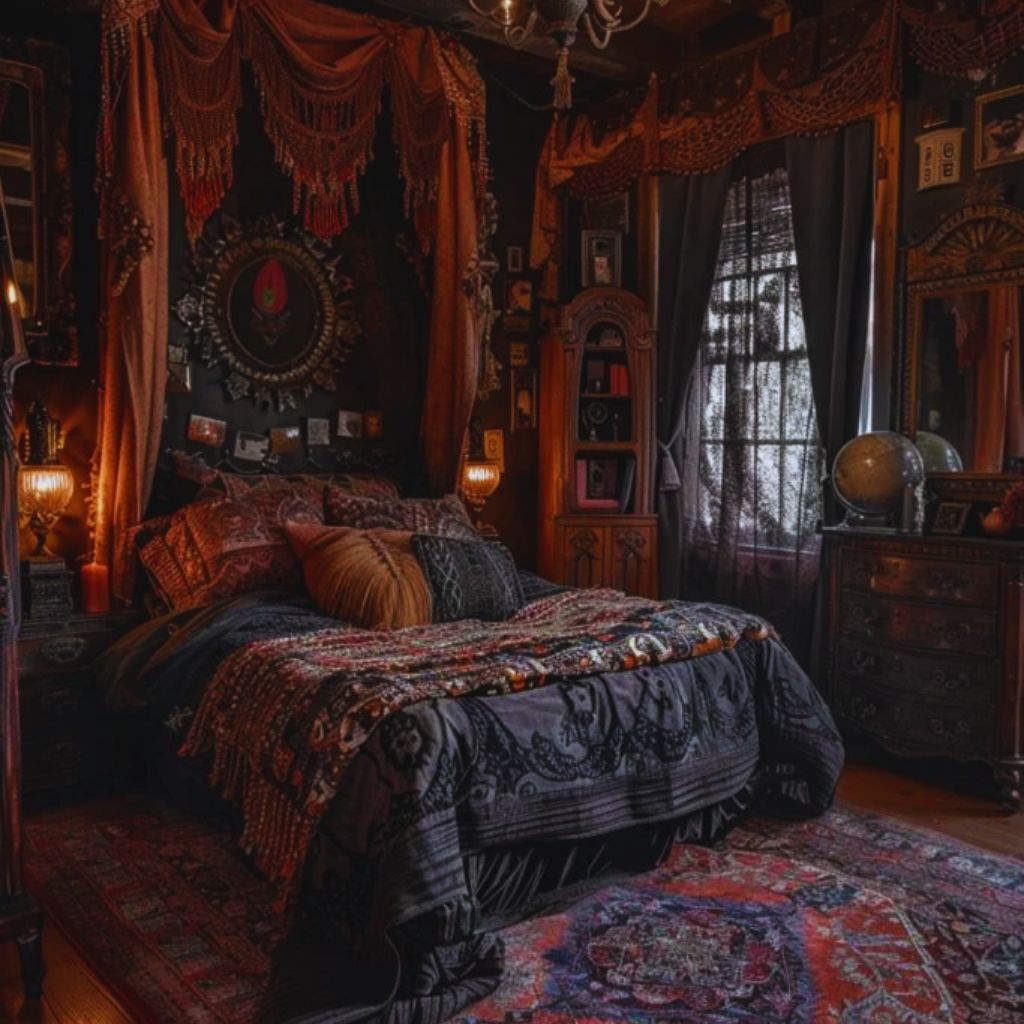
To Complete the Experience
- Decorate your space with candles, books, and vintage mirrors.
- Listen to classical or ambient gothic playlists.
- Write in journals, read poetry, or paint in the quiet hours.
- Display your jewelry like artifacts — on velvet trays or vintage boxes.
It’s not just about what you wear; it’s about how you feel. Gothic Castlecore celebrates introspection, emotion, and timeless allure.
Final Thoughts: Reclaim the Romance of the Past
Gothic Castlecore is more than a fashion trend — it’s an escape into a world where art, intellect, and beauty intertwine.
Every lace cuff, every velvet sleeve, every ruby ring tells a story of mystery and strength. It’s about expressing depth in a world obsessed with simplicity.
So light a candle, put on your ruby ring, and wear your confidence like armor. The Gothic Castlecore aesthetic isn’t about pretending to be from another time — it’s about reviving the grace, romance, and rebellion that time forgot.
Because elegance never dies — it just waits for someone bold enough to wear it again.